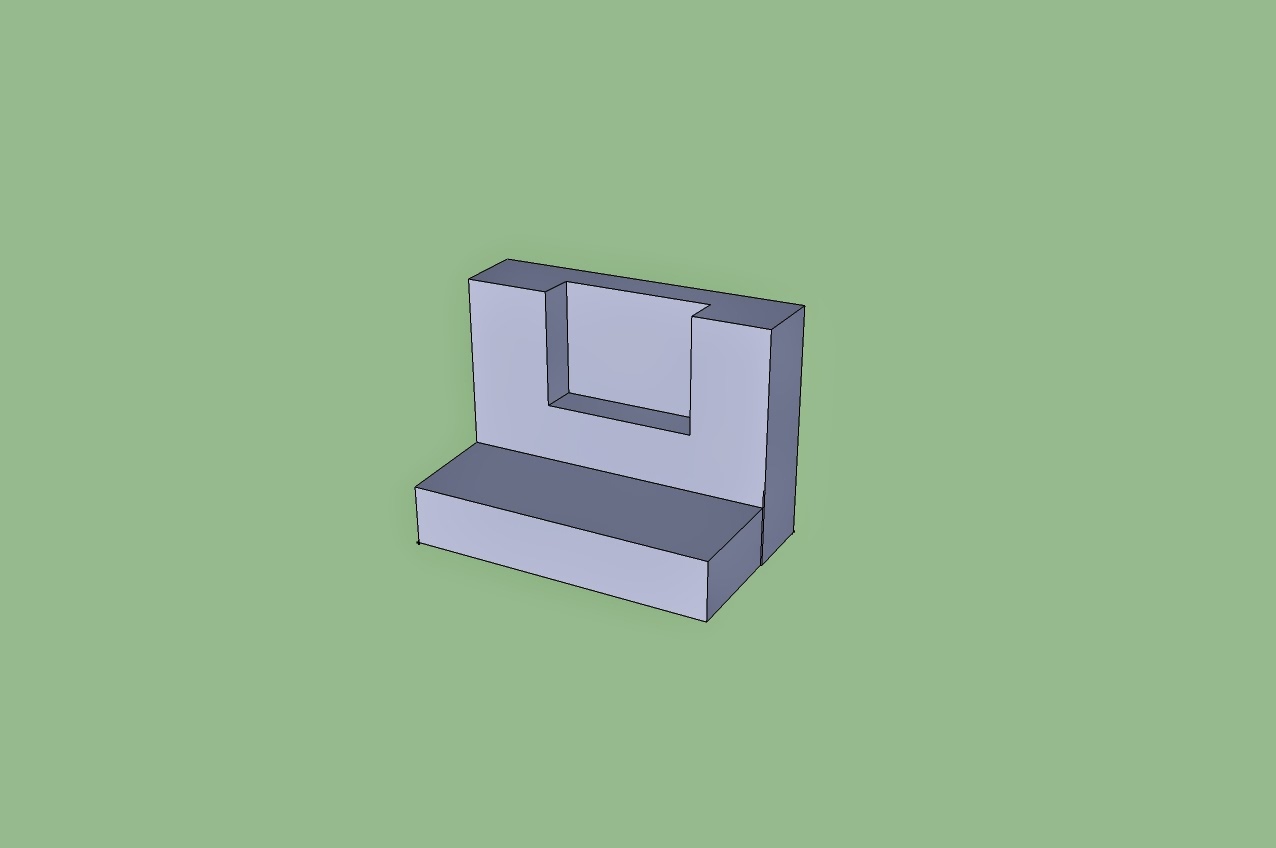
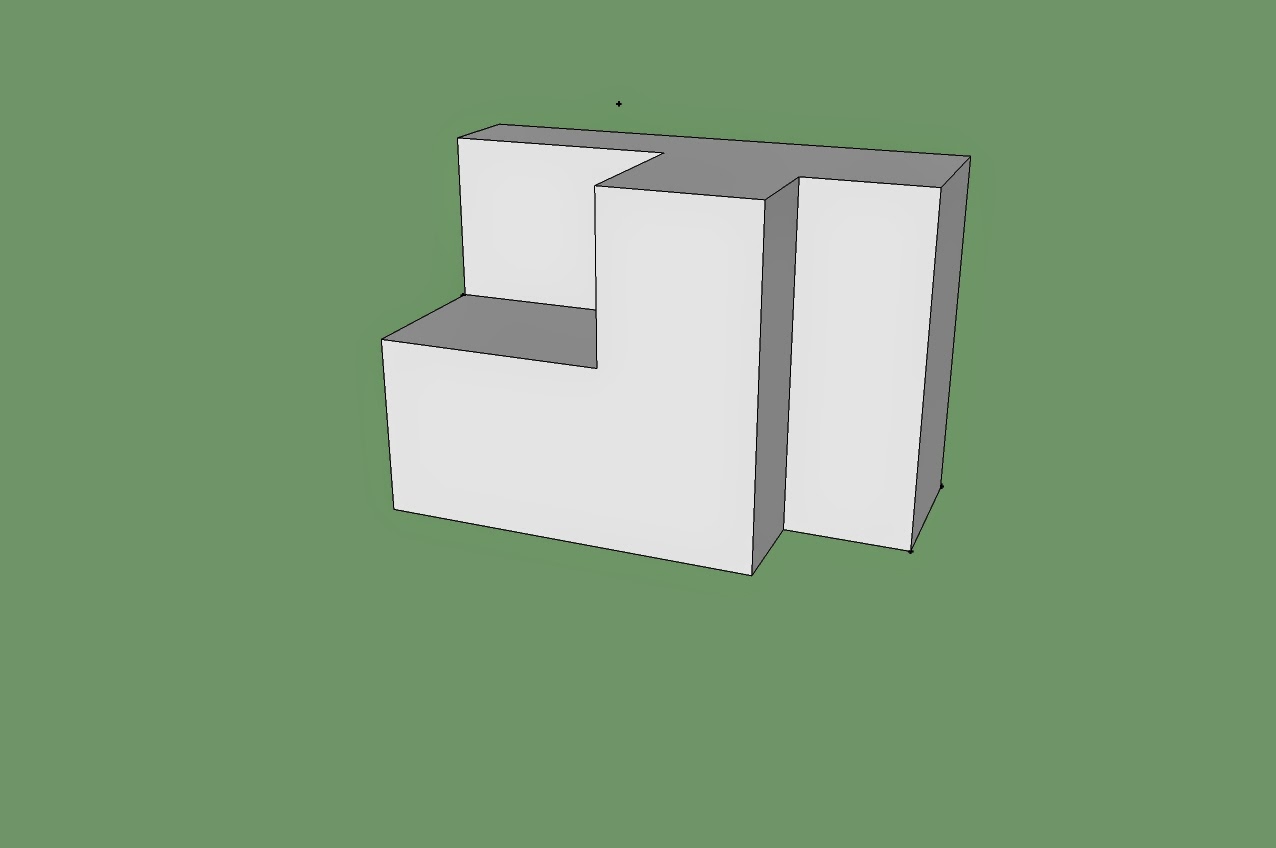
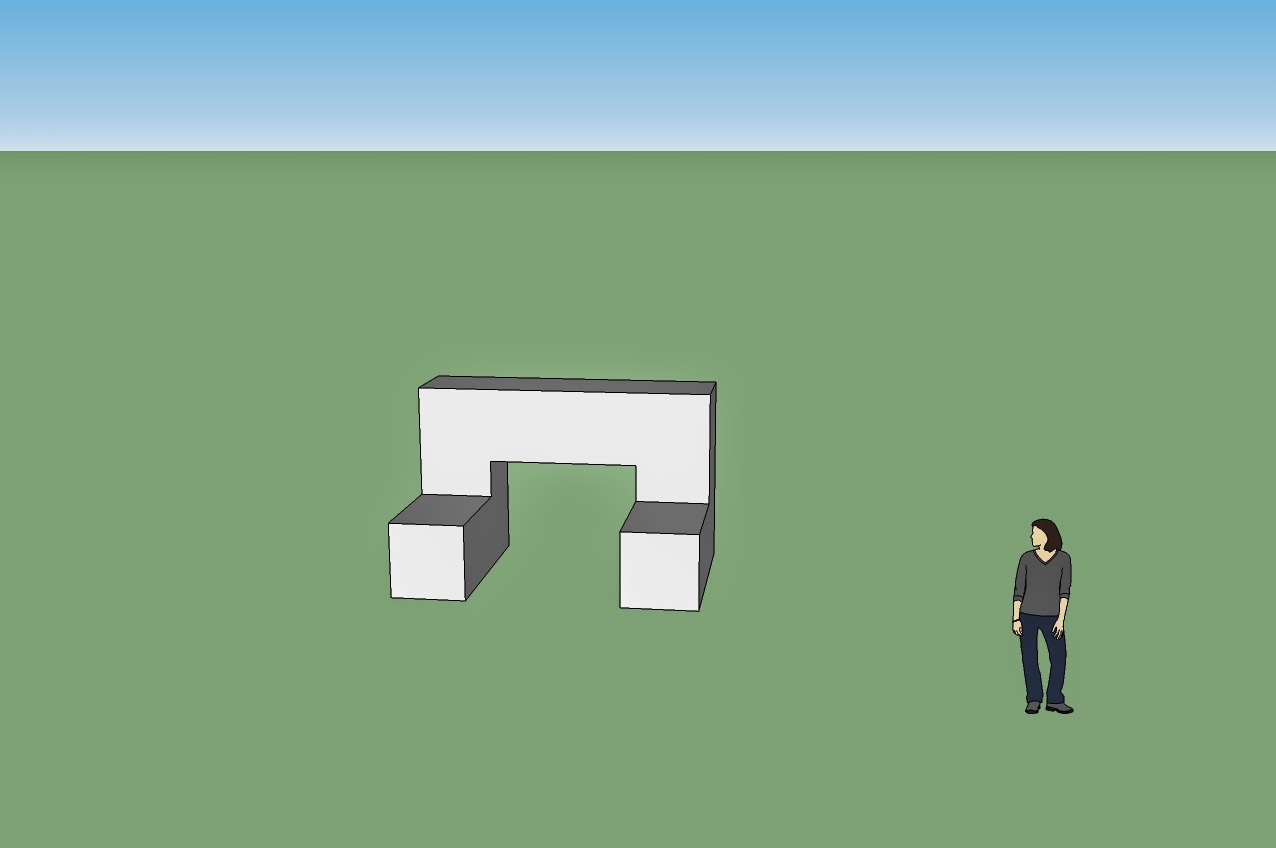
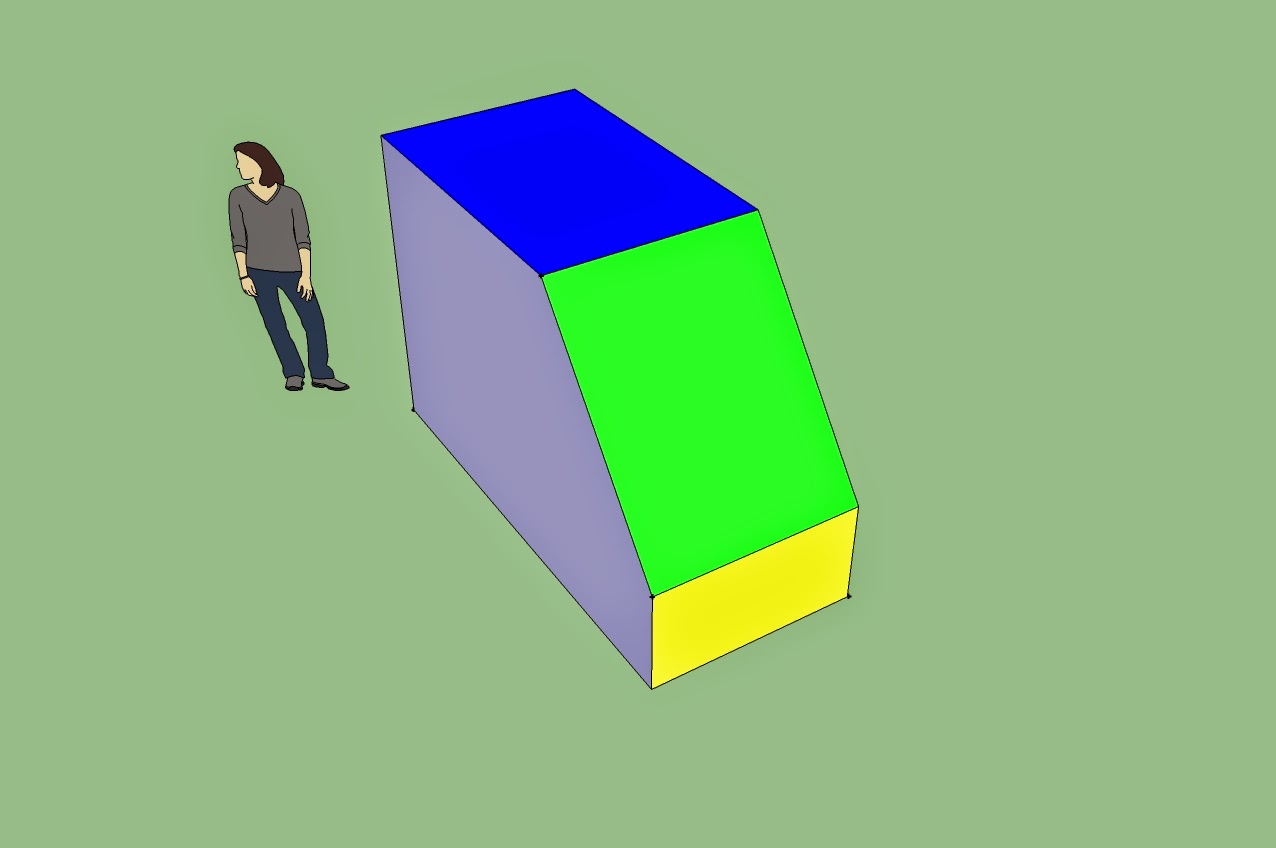
Blocks with Precise dimensions

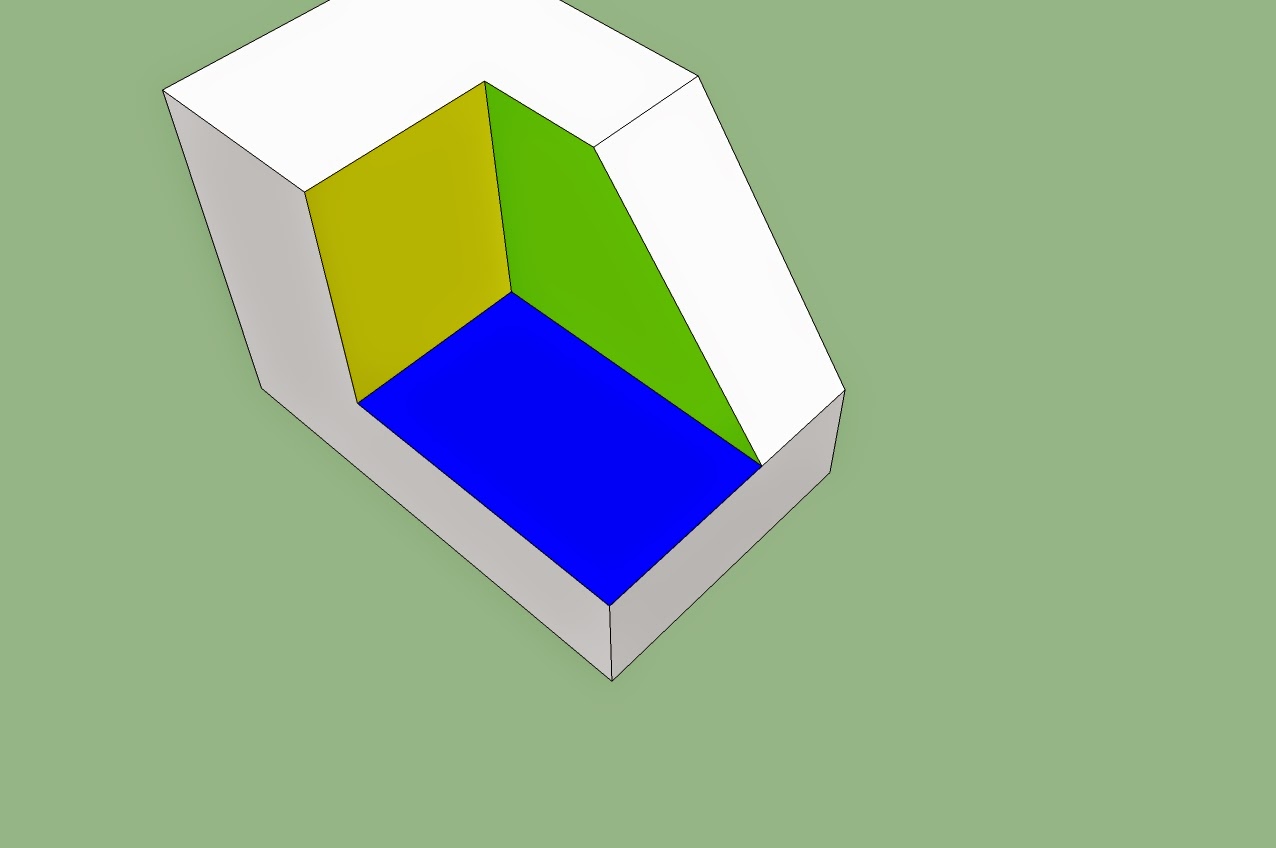
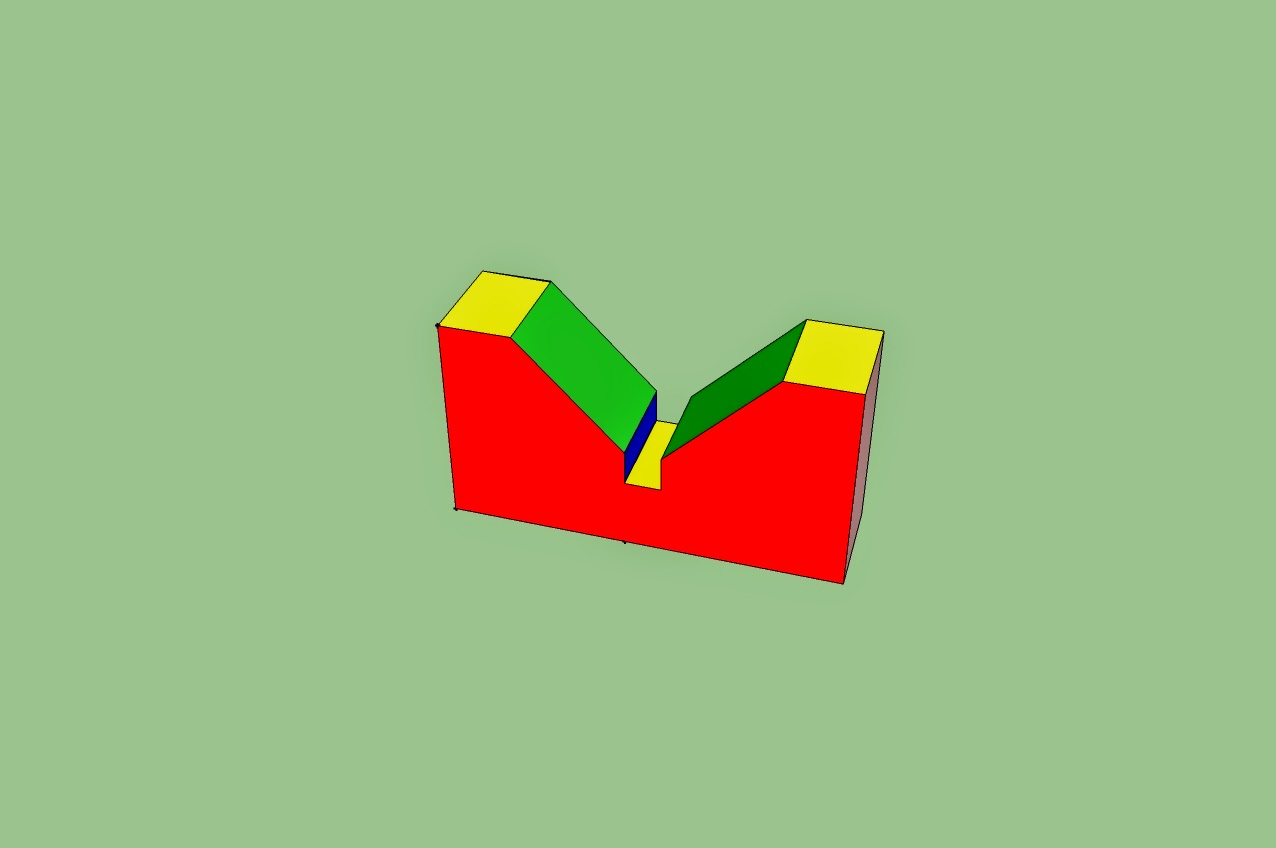 In this project we used new Microsoft called Sketch up which is 3D modeling program for applications such as architectural, interior design, civil and mechanical engineering, film, and video game design. A freeware version, Sketch Up Make, and a paid version with additional functionality.This assignment is easy because we just had to count the inches and pull out or push in.Sketch up is really interesting because you can view whatever you are making in different directions like front view, back view,bottom view,right view,left view and ISO view.Using all these views you can fix anything that seems wrong or out of line.
QUIZ
 In this project we used new Microsoft called Sketch up which is 3D modeling program for applications such as architectural, interior design, civil and mechanical engineering, film, and video game design. A freeware version, Sketch Up Make, and a paid version with additional functionality.This assignment is easy because we just had to count the inches and pull out or push in.Sketch up is really interesting because you can view whatever you are making in different directions like front view, back view,bottom view,right view,left view and ISO view.Using all these views you can fix anything that seems wrong or out of line.
23 bungalow via Google sketch up
Today project was to make a good looking a house using sketch up.This project was fun because we had design and add properties by ourselves as we want.In my work i added pool, which was very easy because i just made a rectangle and colored it with blue.For the fence i just made rectangles and made them thin and i put stones(color).For the windows i pushed down the walls and colored them with "glass"which madethem look like real windows
24:3d glasses viewing
In this project we used the same house but tried to make it 3D. In this project i used red and several other colors.
25Animation via frames
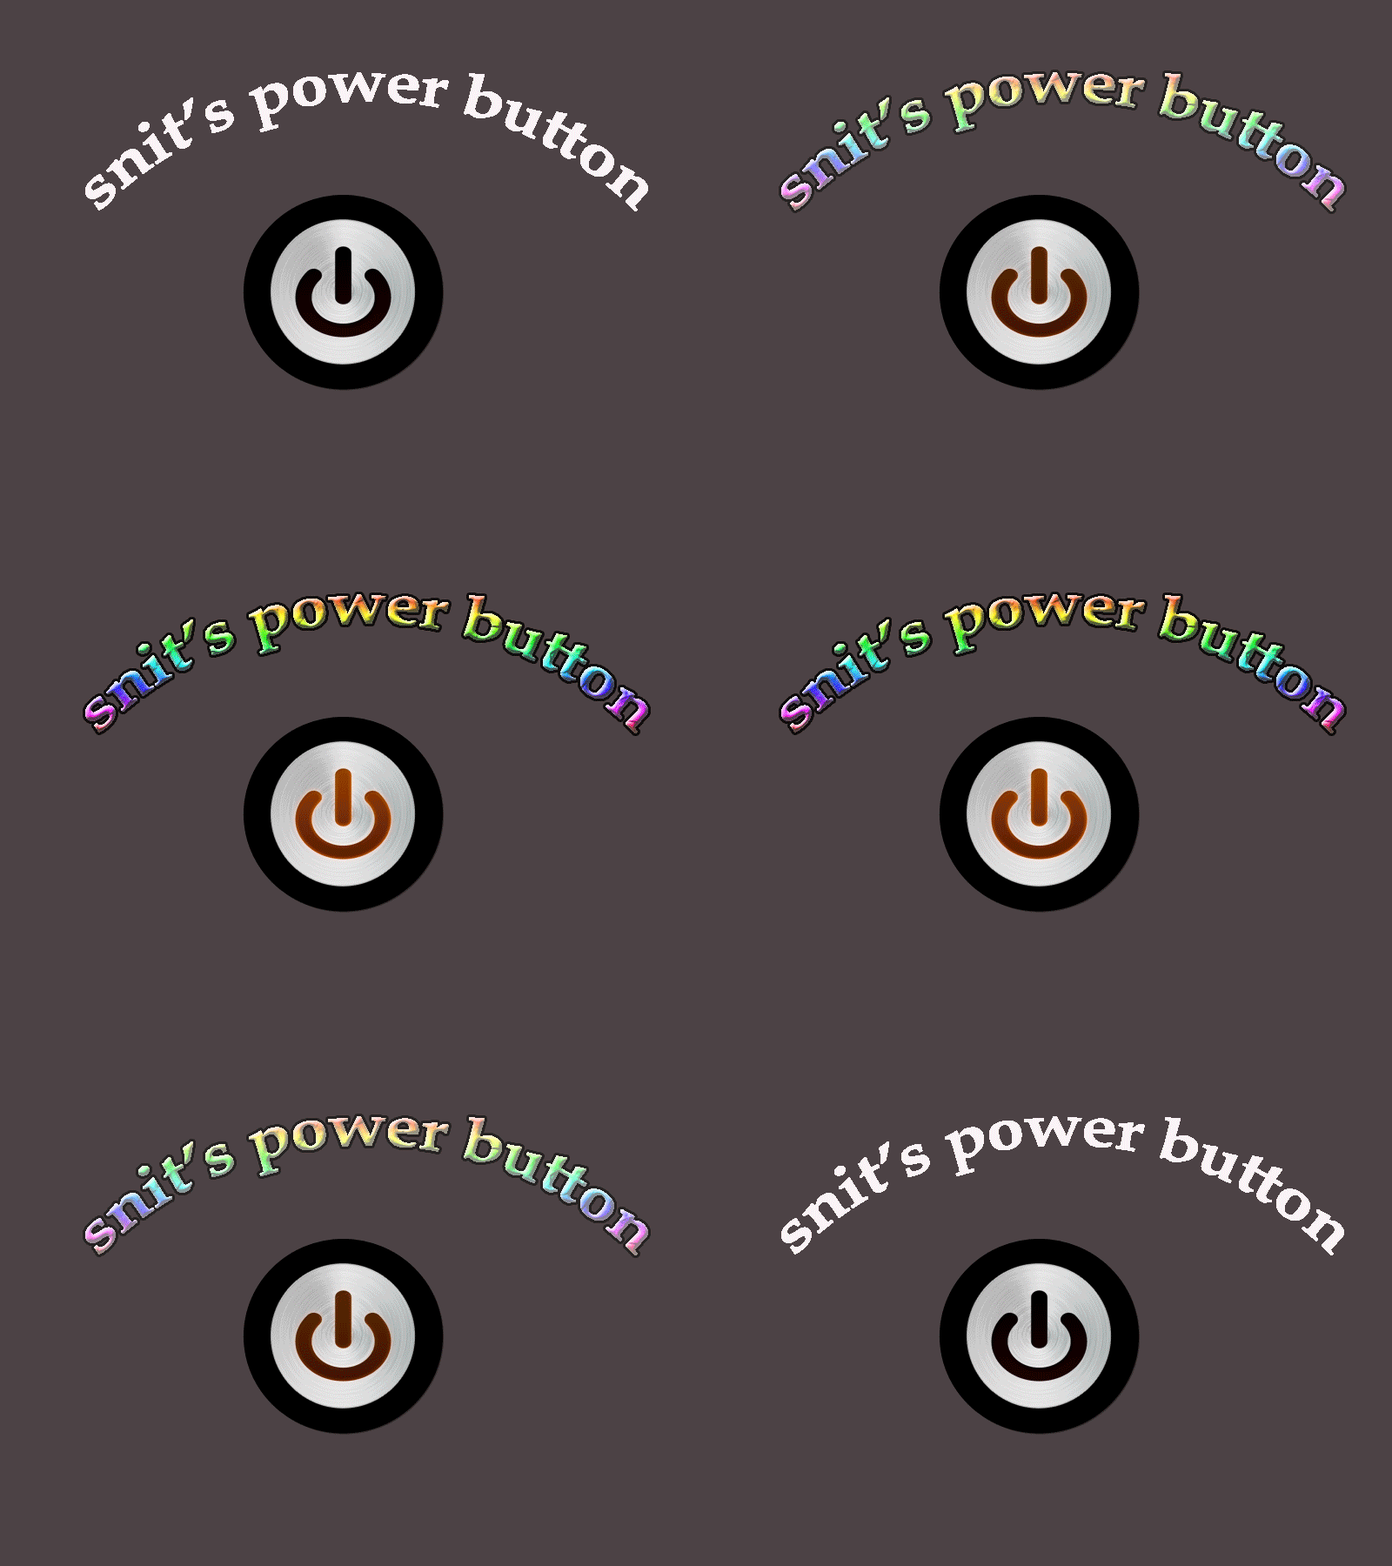 In this project we were suppose to make power button.This project was different because it was about
manipulating photos it also has the ability to animations.It looks we used many pictures to make it as shows in the picture but it was only two and set the sec.The first picture is plain with now colors but the second one has many colors.So it looks like turning off and turning on.
 In this project we were suppose to make power button.This project was different because it was about


+bt+snit+bayne.jpg)


